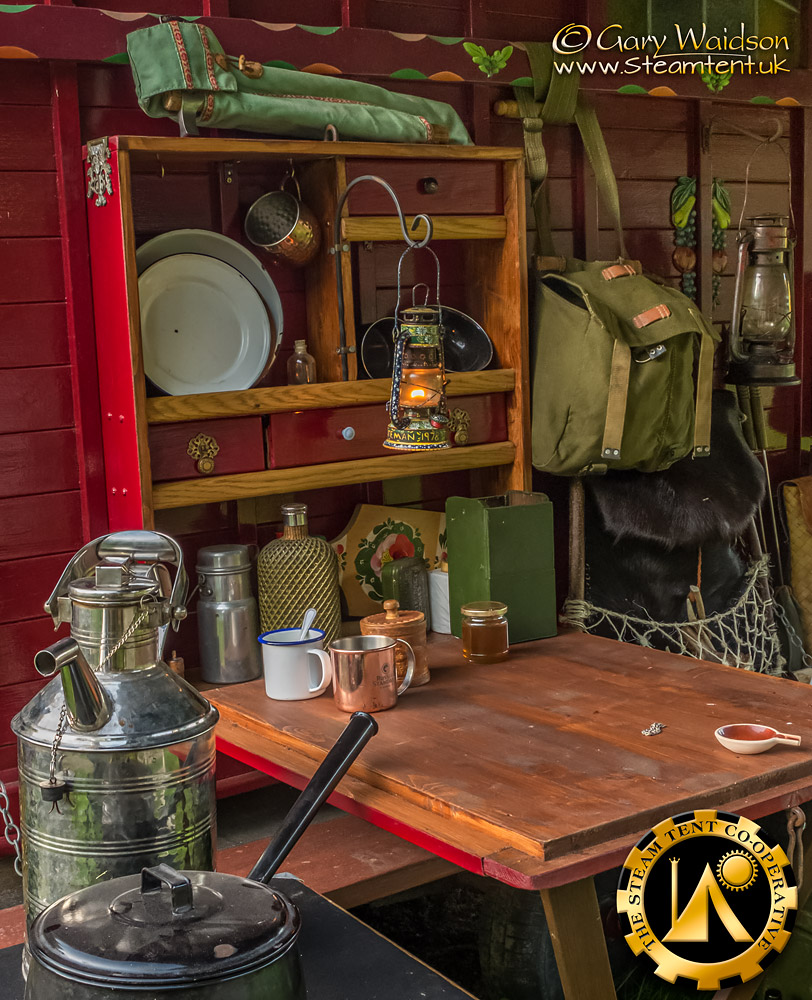
Following on from the Old School Bushcraft Camp, one of the things I noticed on Riam’s wonderful Living Van was a nice lantern decorated in the traditional bargeware style.
Often referred to as “Roses and Castles”, Bargeware is a folk art that sprang up in Victorian times around the cramped cabins of the narrow boats that plied the new canals.
It is thought that the style had it’s origins in the painted pottery of the time which make good sense because much of that pottery was transported on the waterways.
I felt inspired enough to have a go for myself
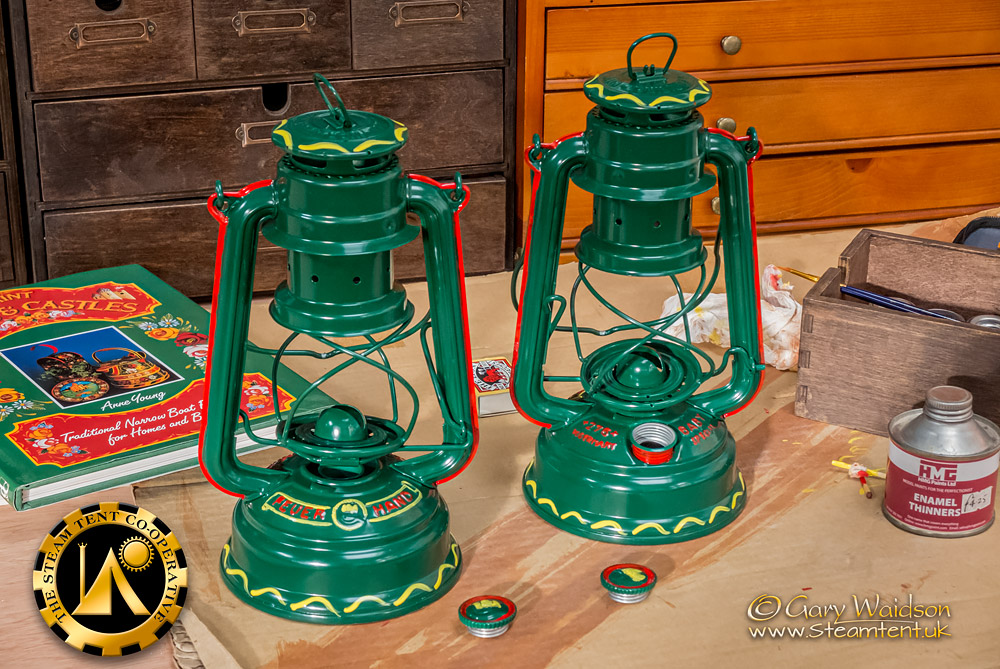
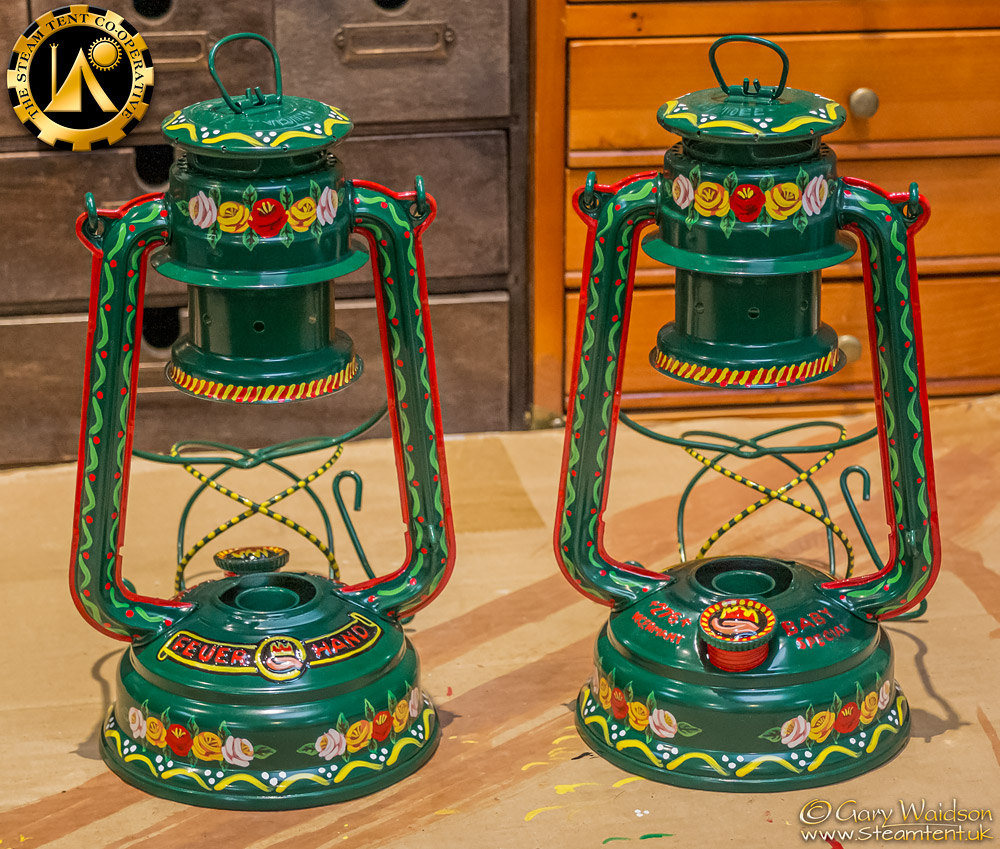
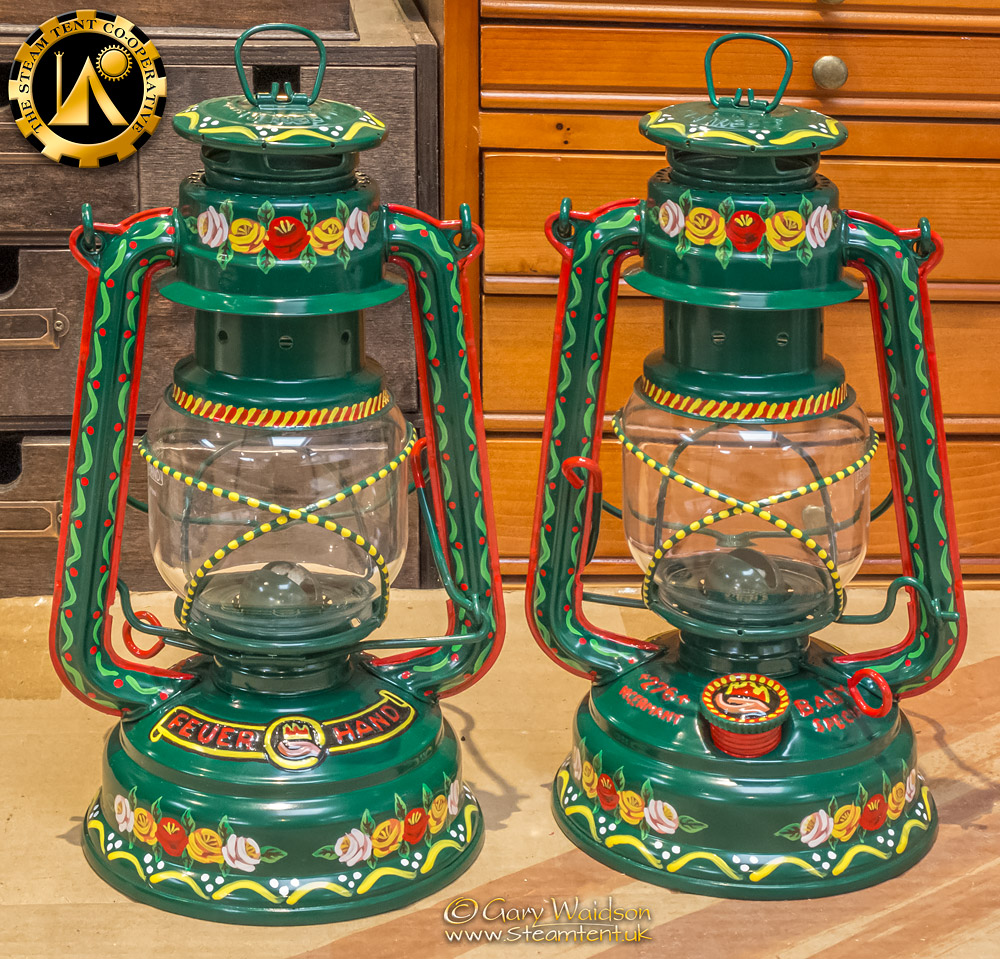
My first target was the two hurricane lanterns that normally hang on the end of the fire rig. These are probably the most prominently displayed lamps in the camp and certainly the most closely seen.
Exposed to all weathers, I wanted something rust resistant and opted to replace them with a pair of Feuerhand 276 Baby Specials which are fully galvanised and powder coated rather than just painted. It was a considerable investment but I thought it would be worth it if I was going to spend the time to do the job well.
I chose a nice dark green pair which is a traditional base colour for this kind of work and would provide a good background to work on. Being brand new, I also knew that I would not have to clean the lanterns to remove fuel residues.
While planning this job, I also ordered a few books on folk and canal art, some for technique and others for inspiration. One of the most useful was by Anne Young.
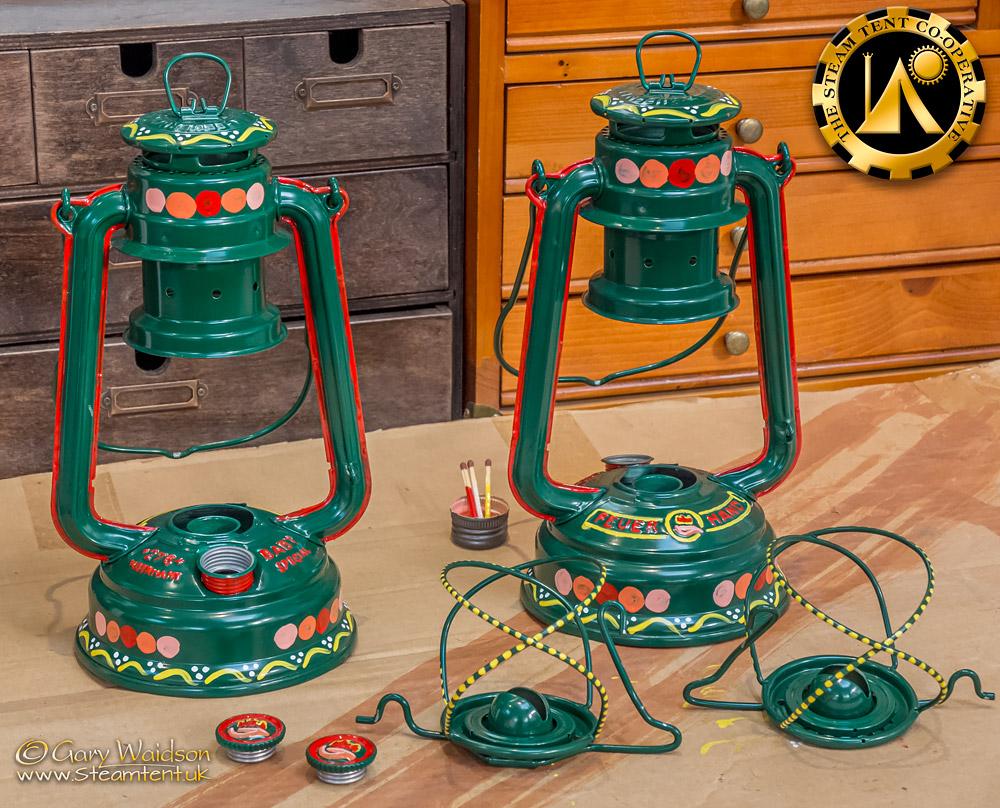
The roses, which are such a characteristic feature of canal art, are started with a background circle which creates the mid tone colour.
To begin, I decided to highlight some of the embossed text and logos on the lamps themselves. Bargework is often characterised by simple freehand brush strokes which work together to create a more complex looking design.
I had decided to work with enamel paint for it's durable qualities and to maintain the individuality of the colours it requires time to fully dry between applications where the strokes overlap.
One of the advantages provided by our newly completed studio is having sufficient space to leave jobs in various stages of the process and I tended to allow at least a few hours, often overnight, for the coats to dry while getting on with something else.
On to these are added some darker shadow tones to create depth before the highlight brush strokes which simulate the outer edges of the petals. After just five quick flicks of the brush you can see a fairly convincing representation of a flower head and it is easy to understand why this style of art gained such popularity on the waterways.
The blooms are then completed with some fine yellow strokes representing the stamens.
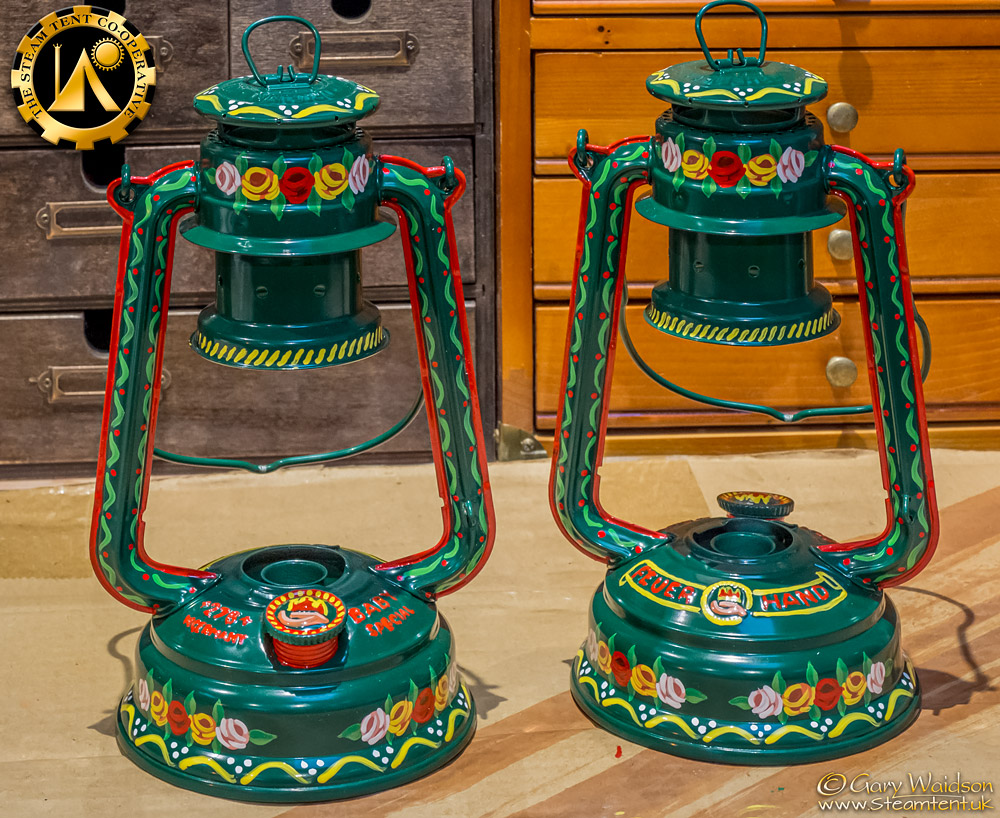
The leaves are straight forward as well. I chose a Northern style of leaf consistent with my own heritage and that starts with a simple leaf shape in light green and a slightly darker colour to make a shadow on one half.
Added to this are the leaf veins in dark brown and eventually they are completed with a row of small white spots around the tip which you will see in the picture of the finished lanterns.
Putting the lanterns back together again, I outlined the text to clean it up a bit and give it more clarity before giving the paint a few days to fully cure.
To protect all that work I want to give it a couple of coats of spray lacquer. But first, I need to test it's heat resistance on a plain lantern to make sure there ill be no problems. It is mainly the chimney that gets hot in use so that is the area that concerns me most. You will notice that I have not put much design work on that area because of those concerns.
Having almost completed that job and thoroughly enjoying the process, I turned my attention towards what else could I paint up like this.
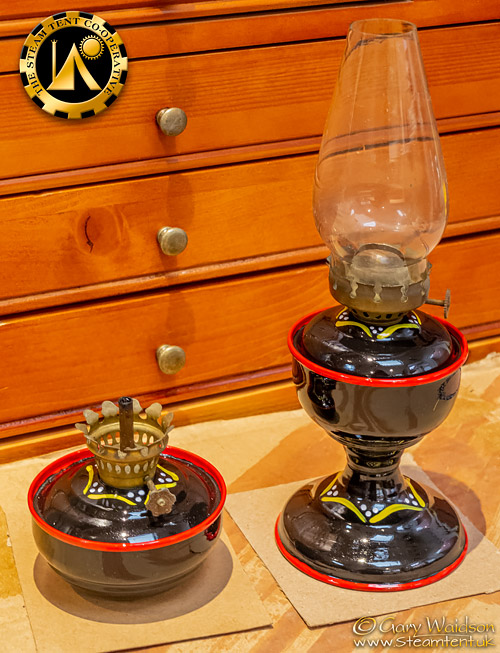
Riam had given me a small table lamp which was in need of some TLC it was painted in a light blueish grey colour but much of the paint was flaking off. I had also acquired a small "nursery" lamp in a turquoisey blue that I thought might adapt well.
I gave them both a rub down and wire brushing to remove the loose paint and provide a stable surface to work on and painted them black.
When dry, I started with some simple border colour and a few strokes to pair them up.
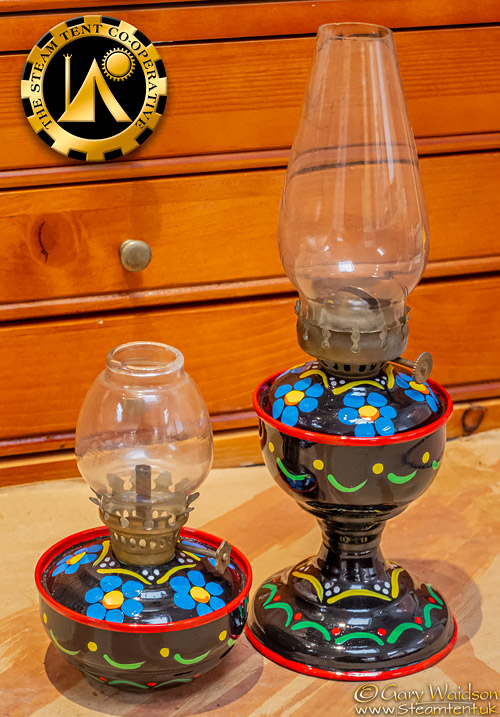
I decided to experiment with some different flowers on these to expand my repertoire as it were.
Other blooms in Anne’s book were daisies and six petalled blue flowers which she described as “like forget me nots” (which only have 5 petals)
I thought I would give them both a try on these lamps.
Starting from round yellow centres, the blue flowers have six circular petals surrounding and a bit of shading on the yellow centre while the daisies are a little more complicated.
Here you can see I’ve just prepared the centres and swags for them.
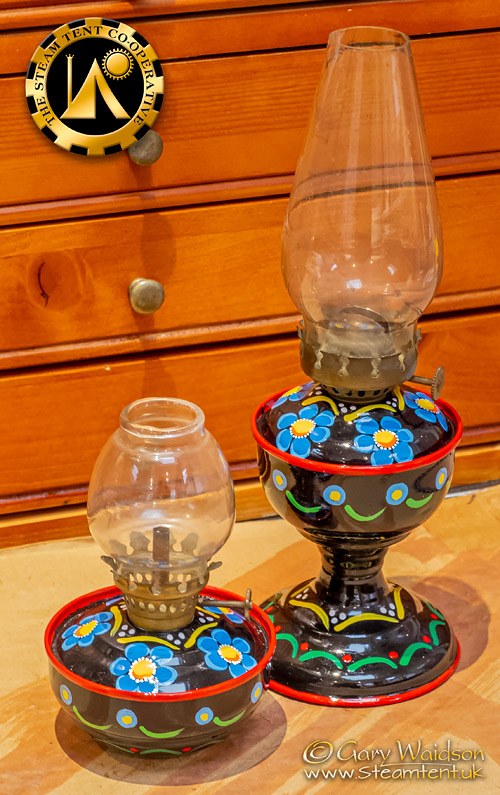
A little later I added a ring of white dots around the centre of the blue flowers and highlights to the edge of the petals.
For the daisies you can see I’ve added a light blue ring around the centres which should act as shadow tone when the white petals are added.
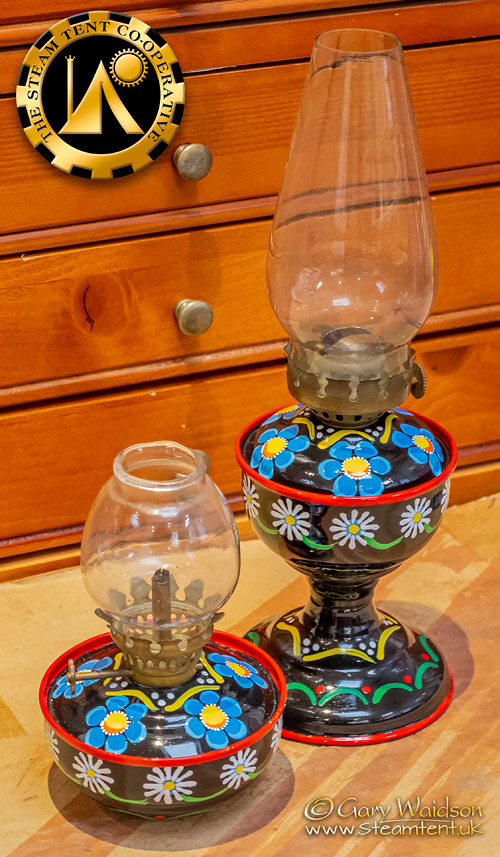
The daisy chains almost completed.
I think the yellow centres needs to be a bit bigger though.
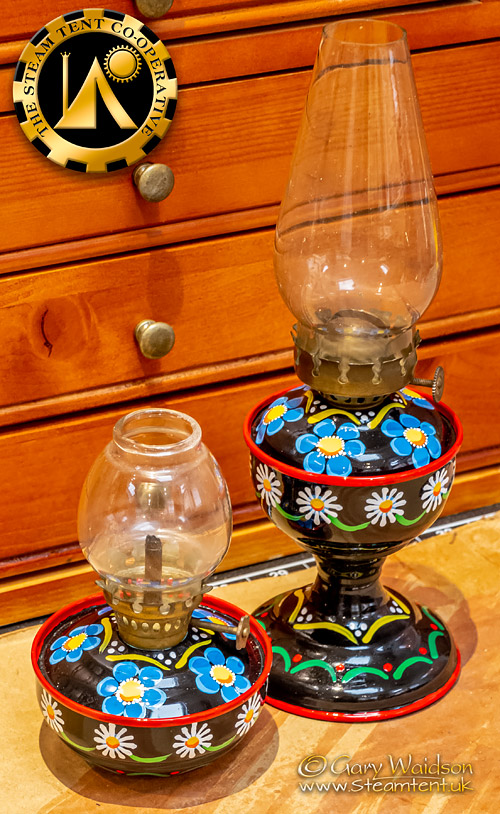
So, the centres enlarged a little and some shading added to give them depth.
Job pretty well done.
in between doing these I’ve also been testing a spray lacquer to make sure it is heat resistant enough for the hurricane lanterns and I think a coat on these wouldn’t be a bad idea as well.
Looking though my stock of enamelware, I’ve spotted a few other bits that might suit this treatment so watch this space.
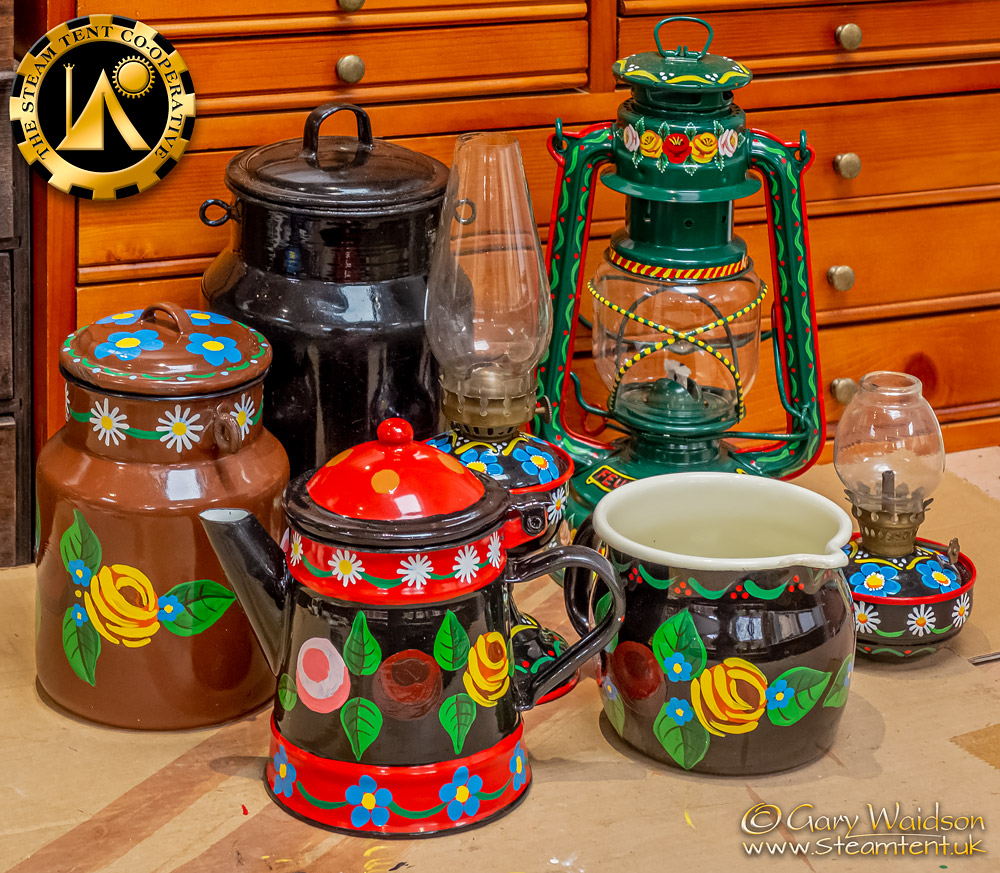
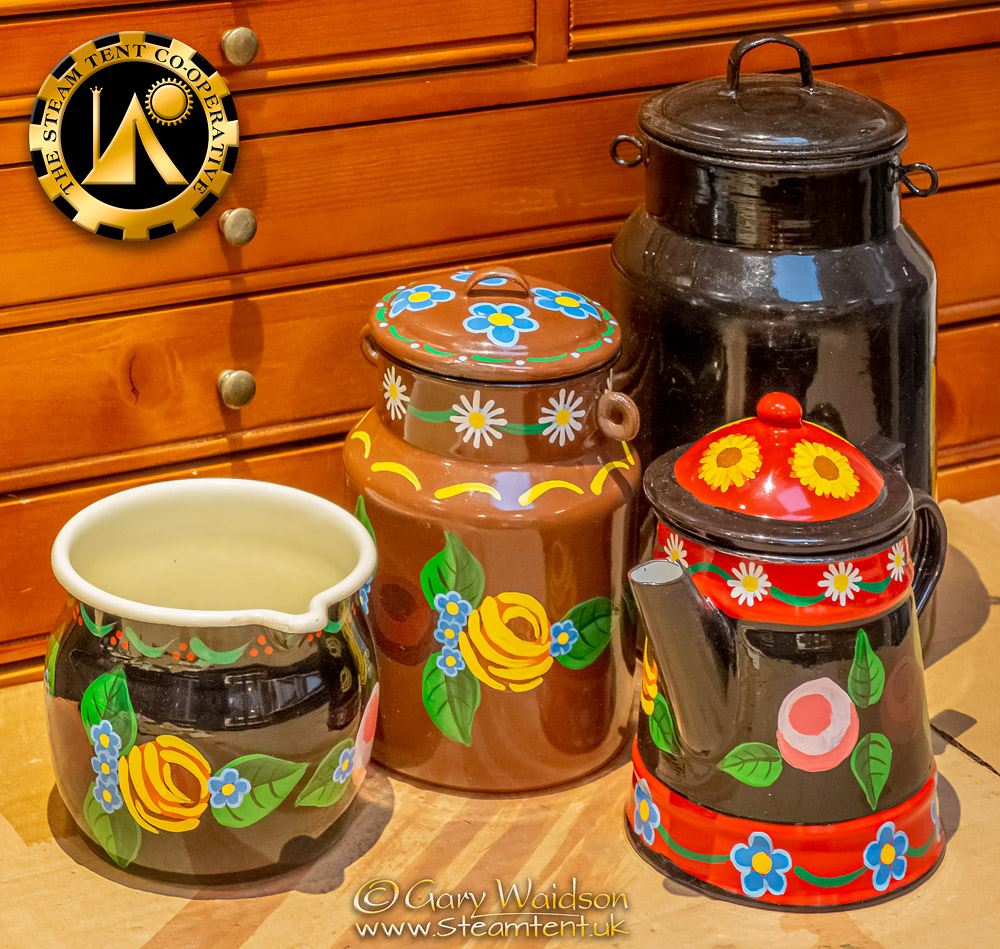
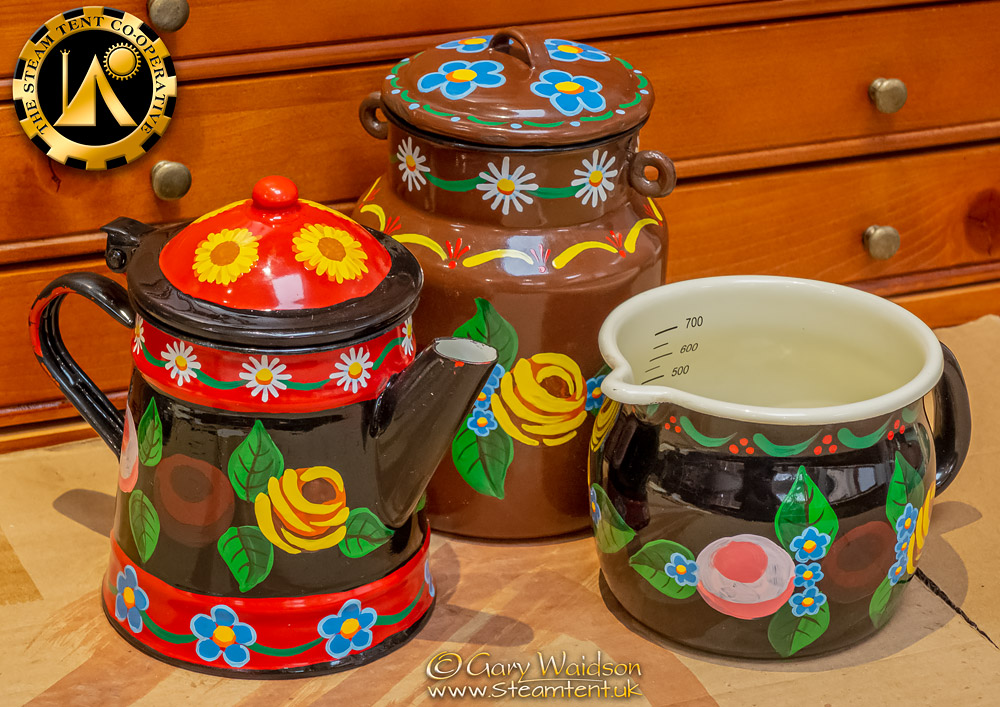
Progress is detail by detail with drying time in between. It seems slow at times but starts to come together towards the end.
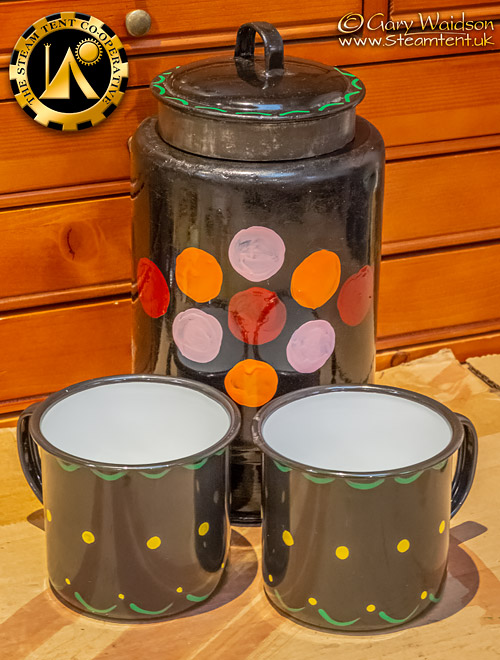
Which means I’ve got time to lay out the next job.
As you can see the first layers are very simple.
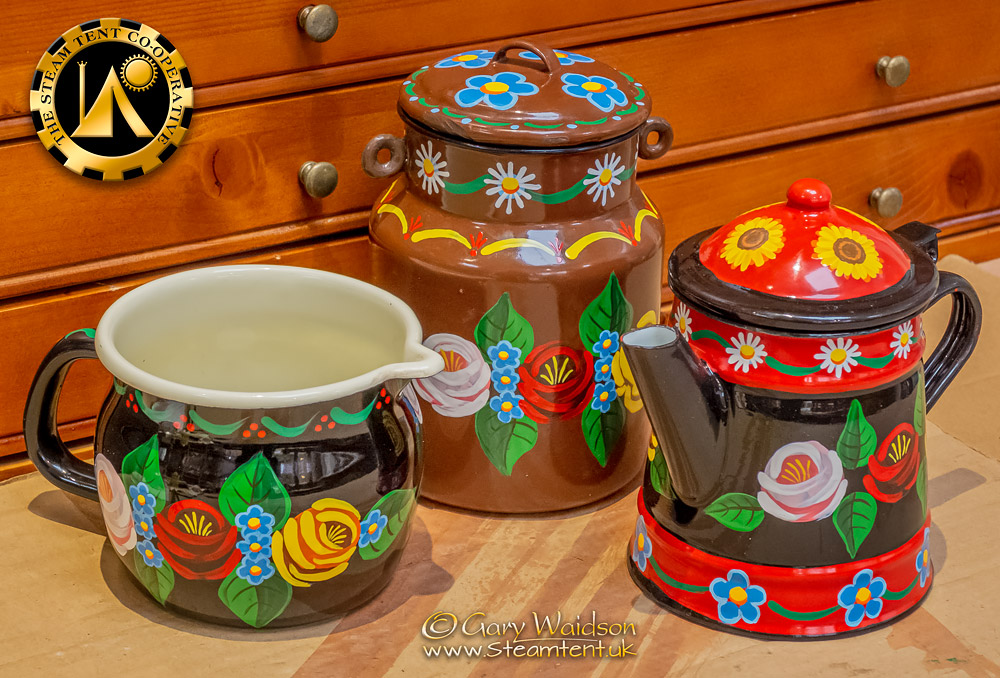
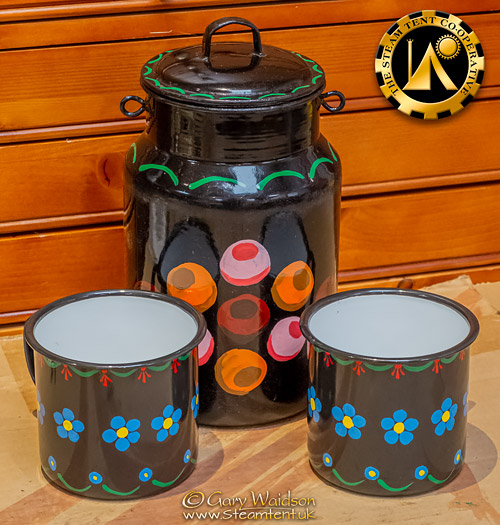
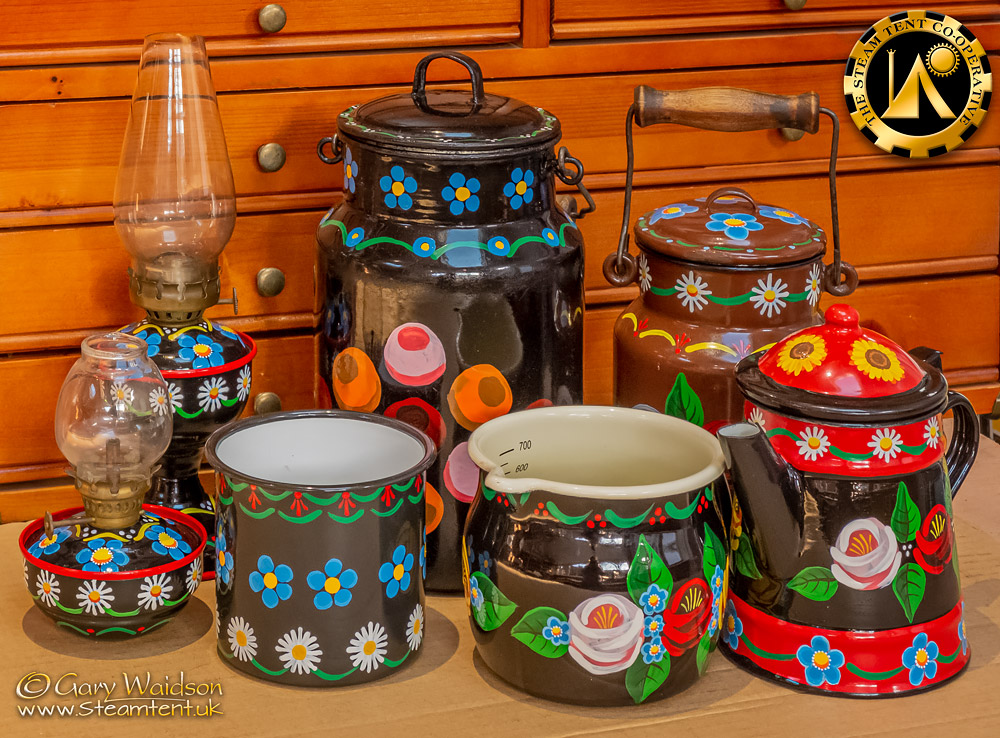
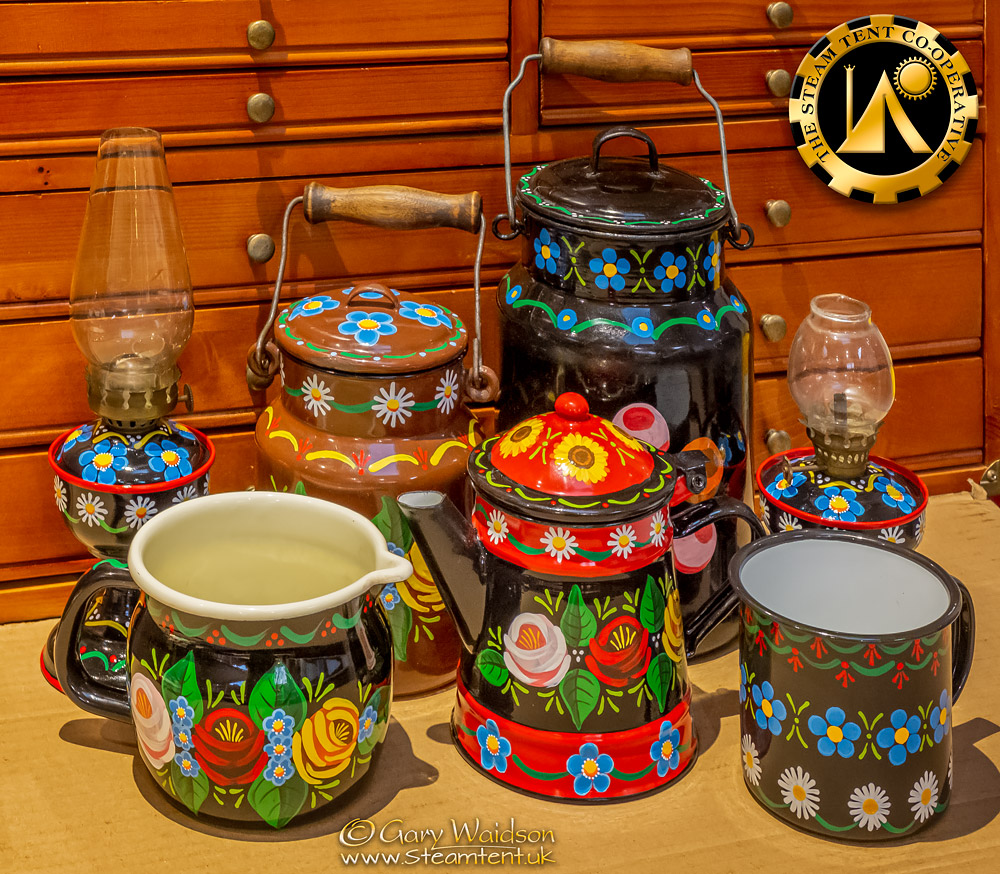
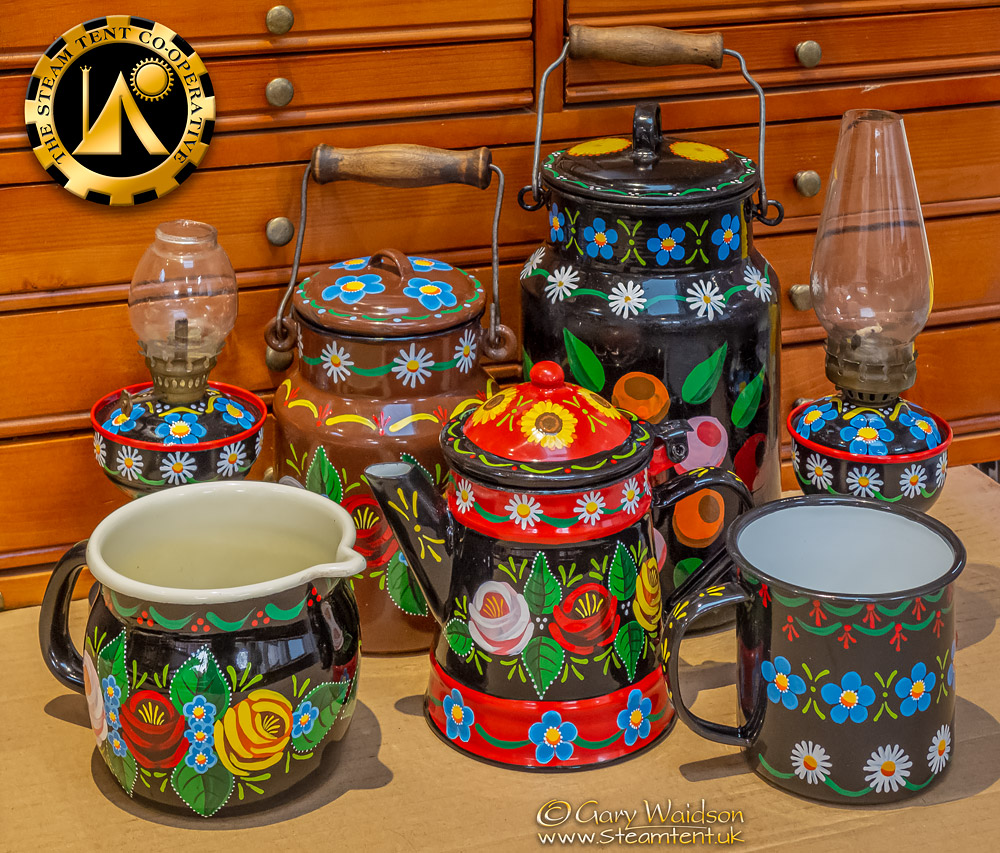
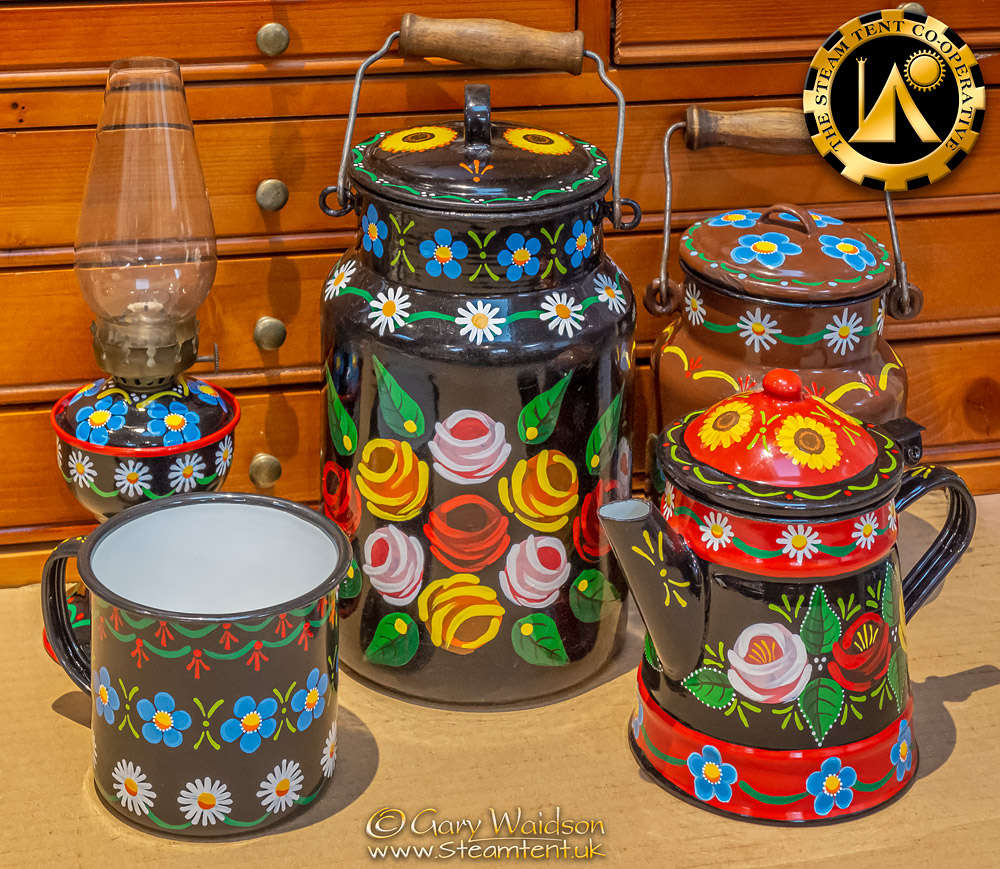
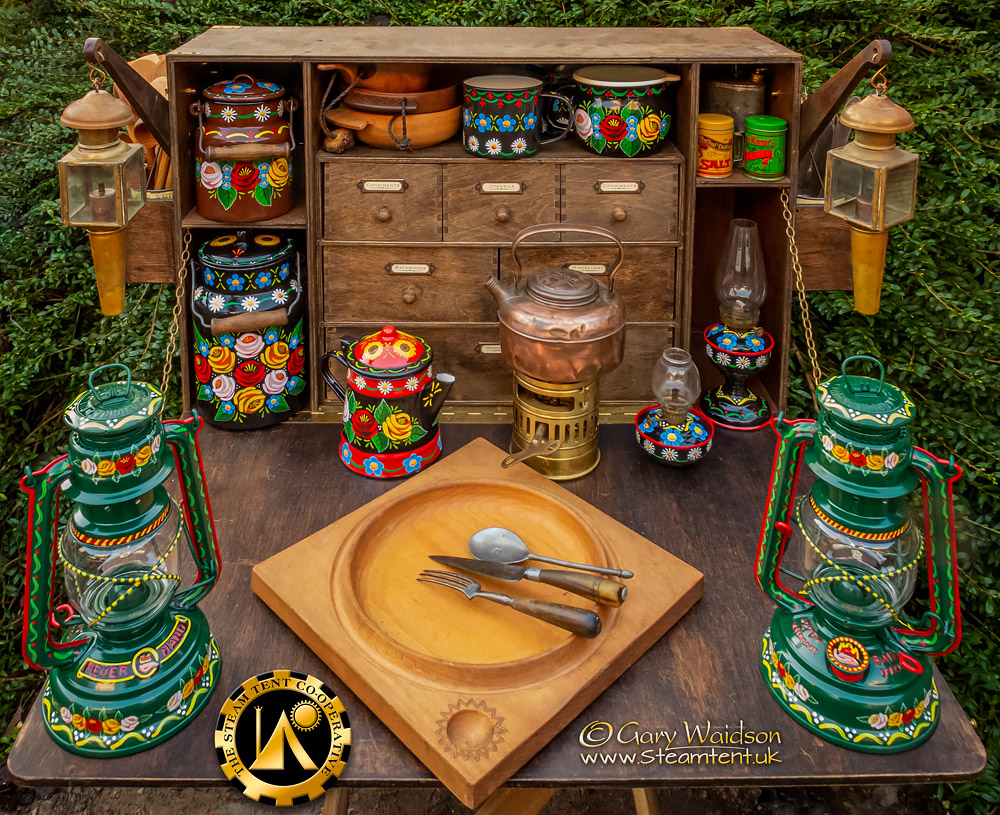
And all done now, ready to be spread around my kit boxes.
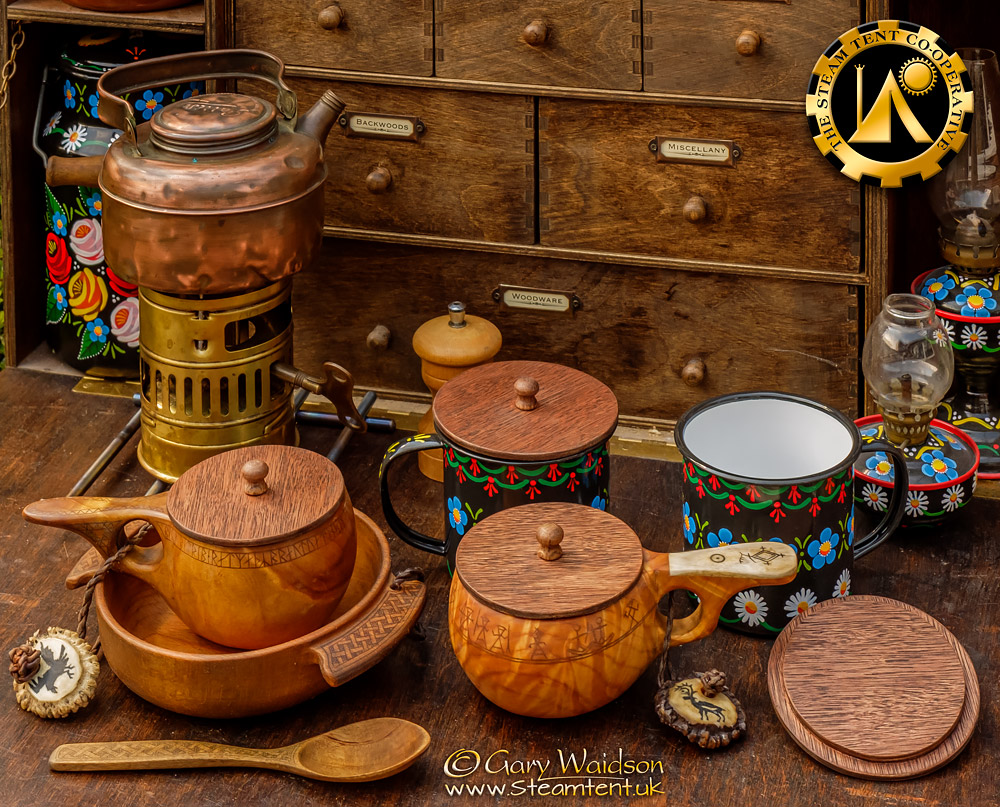
Postscript:
One of the minor annoyances of Summer camping is the number of Kamikaze flying insects that consider an open drink to be an irresistible opportunity.
I usually attempt to frustrate their attempts with something like a tin plate, but spying an unused scrap of plywood in the workshop this morning, I decided to do something a bit more purposeful about it.
An hour or so of tinkering later, mostly waiting for glue to dry, here is the result.
